How to Record a Zoom Meeting [2025]
The world adapted to work-from-home culture a few years ago, and many organizations now use Zoom to conduct daily meetings. From business meetings to learning sessions, Zoom has become a trendy video conferencing software for many, and sometimes, you might need to record those meeting sessions.
How do you record a Zoom meeting? You can easily record Zoom meetings from your desktop, no matter whether you have a free or paid subscription. In this guide, we will go over the steps of recording a Zoom meeting. Let’s get into it.
How to Record Zoom Meetings on the Desktop App
If you are hosting a meeting, you can easily record that meeting, but participants need permission from the host to record the meeting using built-in features. Let’s see how you can record on a desktop.
Step 1: Launch Zoom on your desktop and log in to your account. Make sure the app version is up to date.
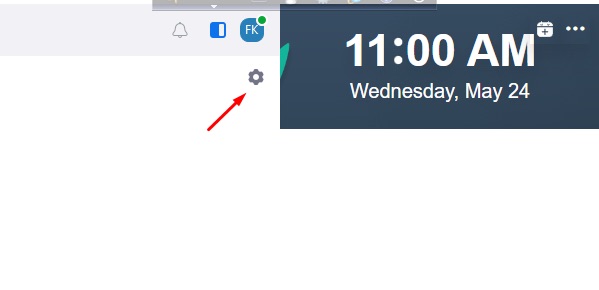
Step 2: Click on the Home tab, and then click the Settings icon. This looks like a small gear wheel.
Step 3: Click Recording in the left sidebar in the pop-up window.
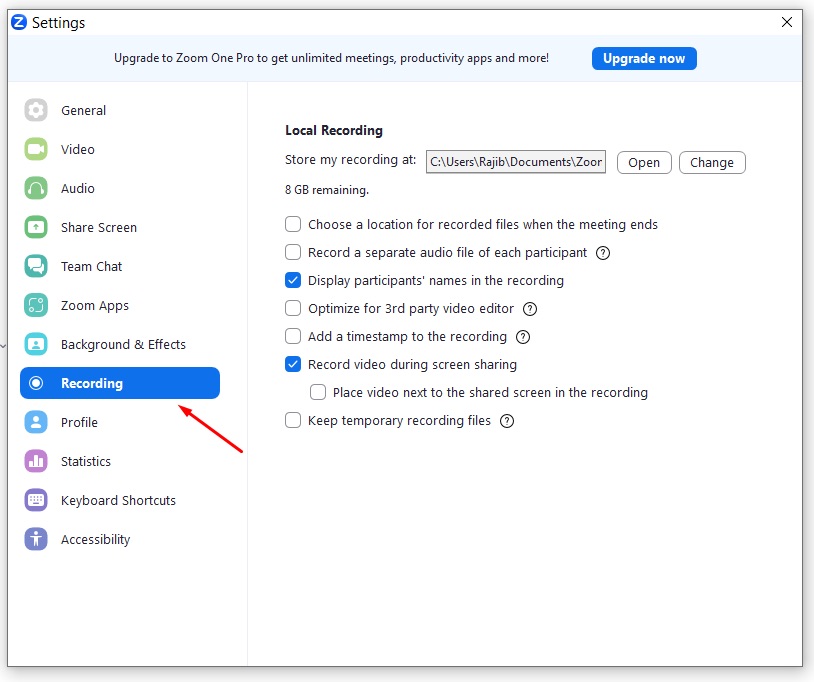
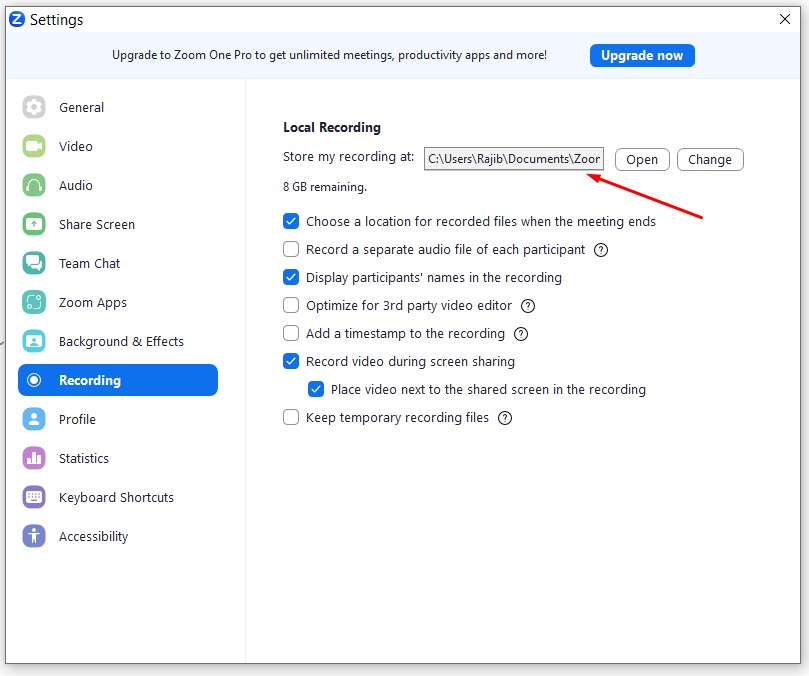
Step 4: If you are using a free subscription, you are only eligible for local recordings. Under the Recording tab, you can set up the storage for your Zoom recordings. To change the default location, you can click on Change and then browse your desired folder. Select the folder and click Okay. Check if the location URL is correct. Then, you can tick the following boxes according to your preference. We wanted to display participants’ names in your recording, so we ticked the box on the left. Also, we ticked the box beside Record video during screen sharing. Once everything is set up, close the pop-up window.
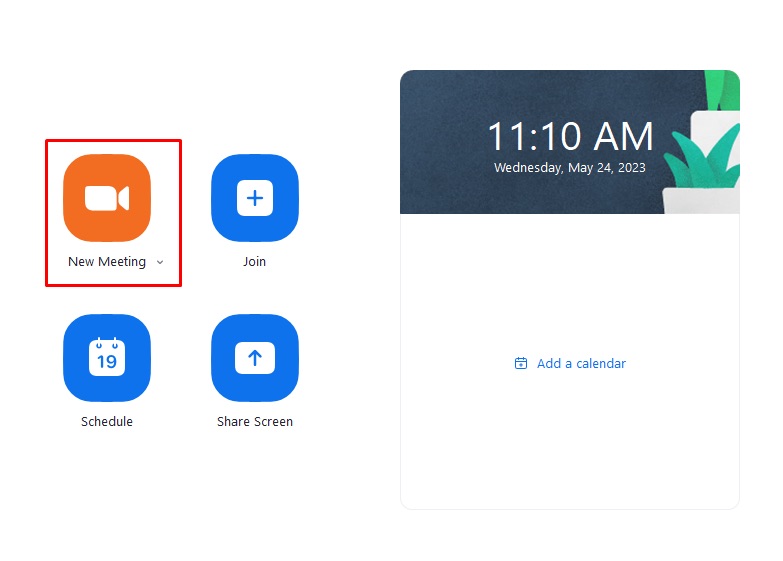
Step 5: Now, you need to start your meeting. Go back to the home screen of the Zoom app. From the four large icons, choose New Meeting to create a Zoom meeting. Your meeting will start soon.
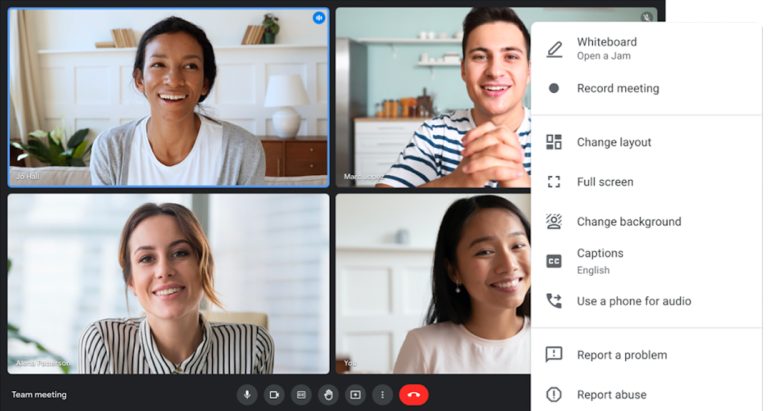
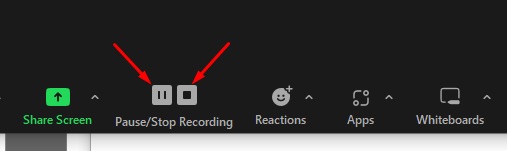
Step 6: On your meeting screen, you will have the Record option on the bottom bar. Click the Record icon to start recording your Zoom meeting. Alternatively, you can press Alt+R to start recording your meeting.

Step 7: Once your recording starts, you can pause or stop that recording. Click the Pause or Stop icon to pause or stop recording.
Step 8: Once you stop the recording, the recorded file will be saved to your preferred location.
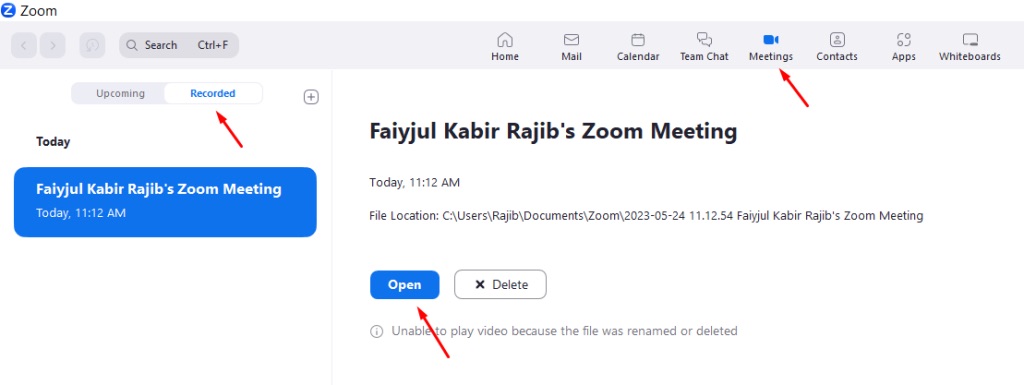
Step 9: If you can’t find your recording in your preferred folder, you can also access it from the Zoom desktop app. Go to the Meetings tab. Then, click Recorded on the left sidebar, and your recordings will be available on your screen. You can play your recordings from there.
That’s it! We hope you can now easily record Zoom meetings from your desktop app as a host or a participant with permission.
How to Record Zoom Meeting as a Participant without Permission
If you join a Zoom meeting as a participant and want to record that meeting, you need permission from the host, but if you don’t have permission, you can follow the steps below to record the meeting without any third-party apps.
Step 1: If you’re using a PC or a laptop to join the meeting and have Windows 10 on your computer, you might be familiar with the Xbox Game Bar. This feature is convenient for gamers to record their gameplay, but we’ll use this feature to record Zoom meetings.
Step 2: Join your desired meeting from your desktop client and make the Zoom meeting full-screen. Remove unnecessary apps or tabs from the windows as the Game Bar records everything on the screen.
Step 3: Click the search box in the taskbar and type Xbox Game Bar. The app should appear in the Start menu. Click on the app to open it.
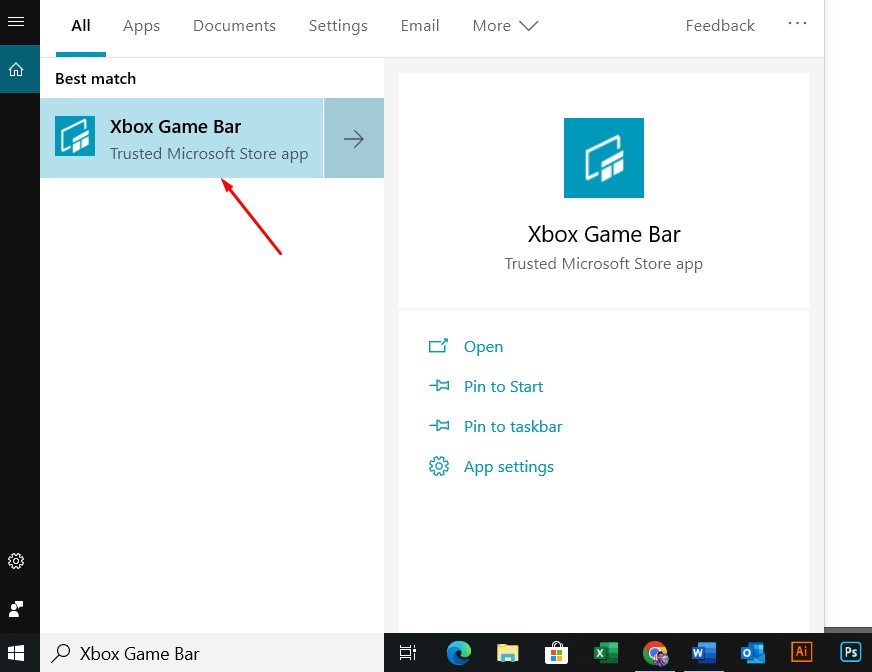
Alternatively, you can also press Windows Key+G to open the app.
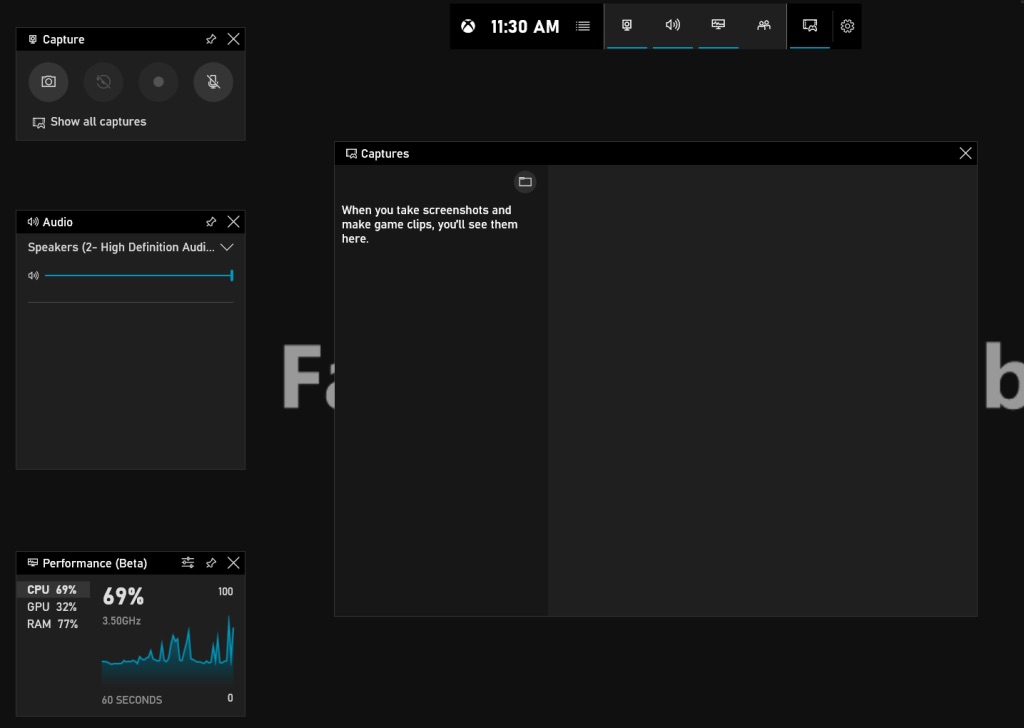
Step 4: Xbox Game Bar will start now. You will see different windows of the app on your screen.
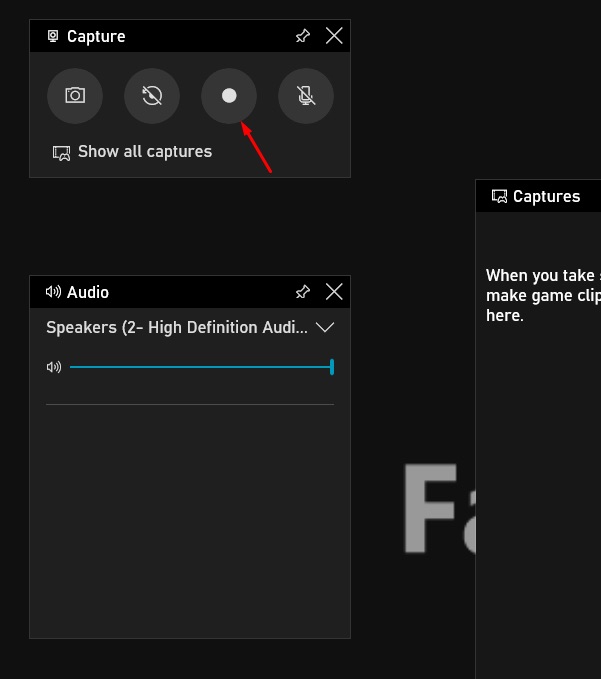
Step 5: Head to the window on the top left corner of the screen. The third button is used to start the recording. Click on it. Alternatively, you can press Windows Key + Alt + R to start recording.
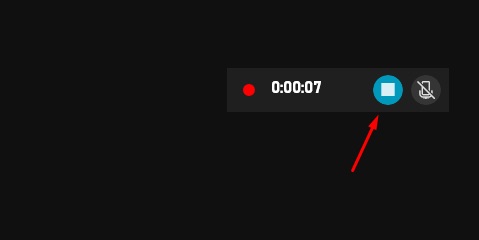
Step 6: Your recording will now start, and you will see a recording icon on the top right corner of the screen. If you want to stop recording, click the Stop recording button, and your recording will end.
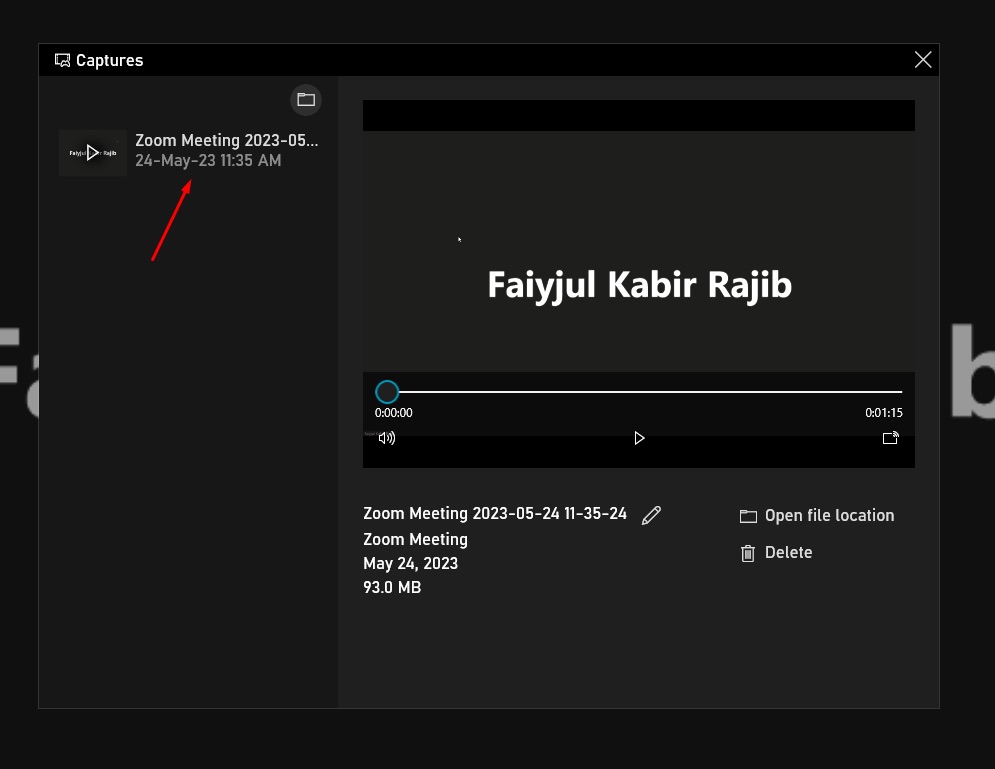
Step 7: The recording will now be saved to your computer, and will show up on the Captures window in the middle of the screen. You can play your recording from there, open its file location, or delete it from your computer.
That’s how you record a Zoom meeting as a participant without permission from the host.
Summary
Zoom meetings have become a convenient way of communicating with colleagues and friends. Recording these meetings is often necessary to get the most out of these meetings, but many people do not know how to record a Zoom meeting. In this guide, we simplified the process of recording a Zoom meeting. If you are a host, you can easily record the meeting using the built-in record feature of the Zoom desktop app, but if you join others’ meetings and don’t have permission to record the meeting, you can use the Xbox Game Bar app on Windows to record the meeting easily.